
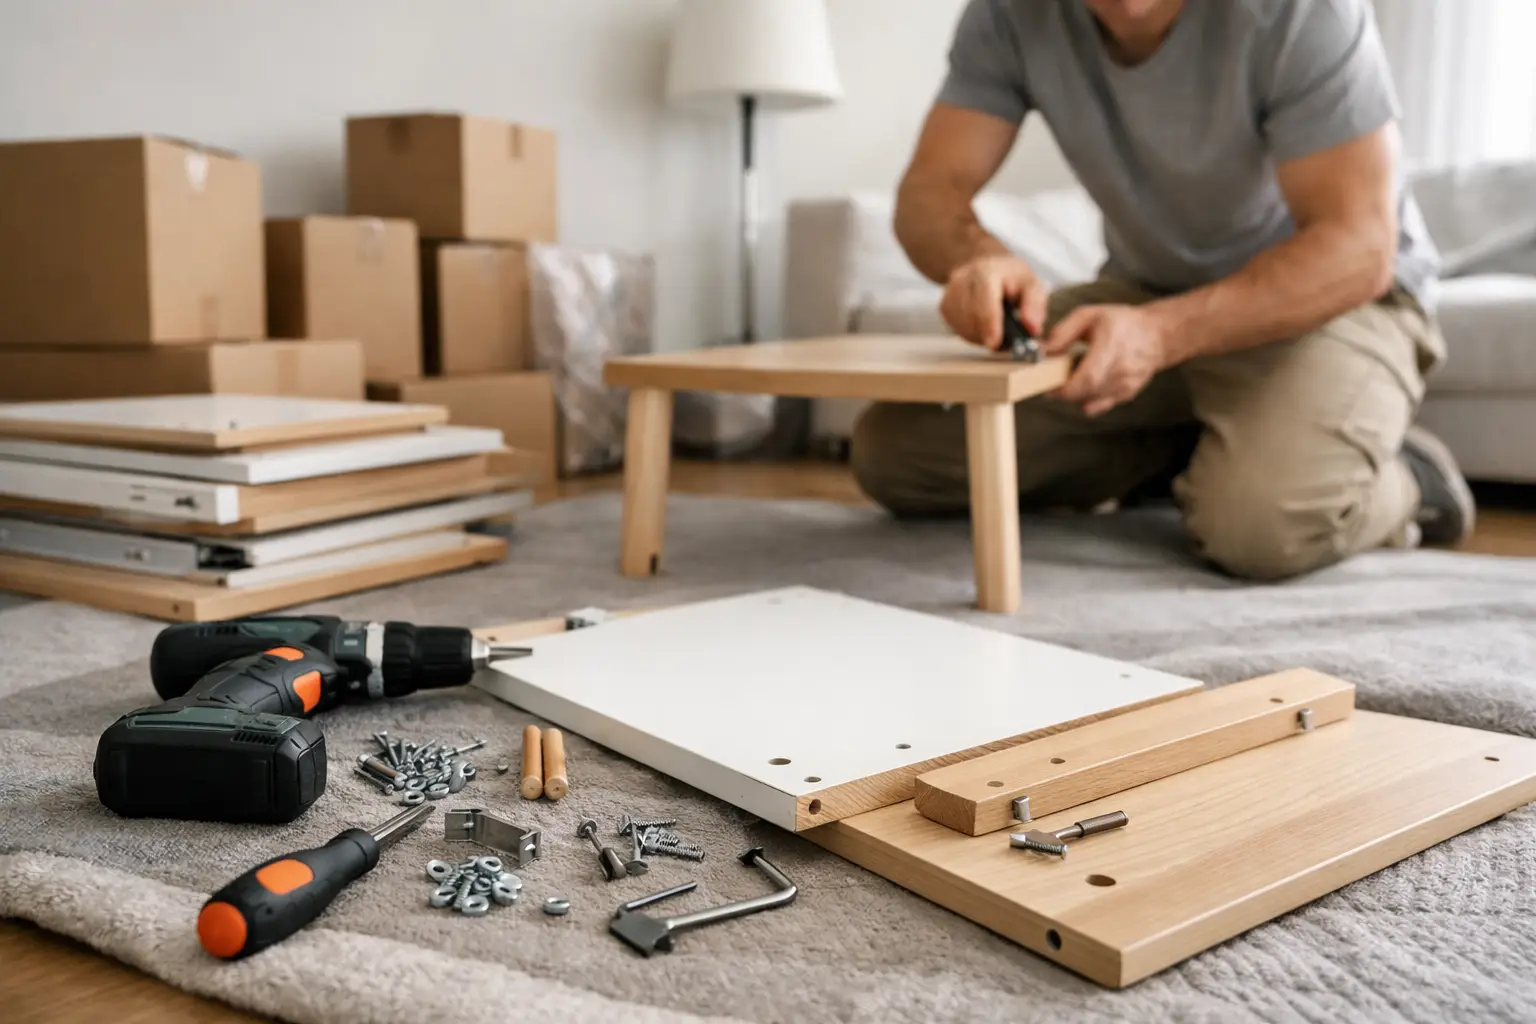
A wardrobe that fits comfortably in a bedroom can become the item that holds up moving day when it will not turn on a landing or clear the front door. This guide to dismantling furniture explains how to decide what needs taking apart, how to do it safely, and how to make sure every piece can be rebuilt without unnecessary stress at your new home.
Decide what should be dismantled
Not every item needs to come apart. Small bookcases, sturdy side tables and compact chests of drawers are often safer moved as complete pieces, provided they can pass through the property without force. Dismantling an item unnecessarily can weaken fixings, damage flat-pack boards or create more loose parts to manage.
Measure the furniture at its widest points, then compare this with doorways, hallways, staircases, lifts and any tight turns. Remember that the route matters as much as the doorway itself. A sofa may fit through a door but not around a narrow stairwell. In some homes, removing detachable legs or doors is enough. In others, a bed frame, large wardrobe, dining table or modular shelving unit will need full dismantling.
Check the manufacturer’s instructions before starting, especially for modern flat-pack furniture. Some units are designed to be assembled once and may not tolerate repeated dismantling well. Older wardrobes and antique furniture can also have glued joints, fragile veneers or fixings that are no longer secure. If an item feels unstable, has glass panels or is particularly valuable, professional assessment is the safer option.
Prepare before removing a single screw
Rushing is where most moving-day damage begins. Give yourself enough time to empty, clean and inspect each item before tools come out. Drawers, shelves and cupboards should be completely cleared, even if they appear light. Loose contents can shift during lifting, while forgotten objects can scratch surfaces or damage drawer runners.
Take clear photographs of the furniture from several angles. Capture the back panel, hinge positions, drawer runners, labels and any unusual brackets. These photos are useful when instructions have been lost and can save considerable time when you are surrounded by boxes at the new address.
Gather the correct tools rather than trying to make do with unsuitable ones. For most household furniture, this means:
- A screwdriver set, including flat-head and cross-head heads
- Allen keys or hex keys in the correct sizes
- An adjustable spanner or small socket set
- A claw hammer only where the manufacturer’s design allows it
- Masking tape, marker pen, sealable bags and protective wrapping
Avoid using power tools unless you are confident they are suitable for the furniture. Overtightening can strip chipboard, split timber or damage threaded inserts. Hand tools offer more control, particularly with flat-pack items.
Work methodically, one item at a time
Choose a clear, well-lit area with enough floor space to lay components down safely. Put down blankets, cardboard or protective sheets to prevent scratches. Keep children and pets away from the work area, particularly where there are sharp tools, heavy panels or small fittings.
Start by removing loose components such as shelves, drawers, cushions and doors. For wardrobes and cabinets, take photographs before releasing hinges or runners. Doors are often heavier than expected, so support them with one hand or ask someone to hold them while the final screws are removed.
Then reverse the original assembly order where possible. A bed frame, for example, normally comes apart in a sensible sequence: mattress and bedding first, then slats, centre support, side rails and finally the headboard and footboard. Do not force joints apart. If a section will not move, check for hidden cam locks, bolts, brackets or paint that has sealed a joint in place.
Keep matching components together. Place all screws, bolts, dowels and brackets for one item in a labelled sealable bag, then tape the bag securely to a protected part of that furniture. Do not tape directly onto polished wood, veneer or delicate finishes. If a bag cannot travel attached to the item, place it in a clearly marked essentials box and record where it is.
Protect panels, corners and glass
Once furniture is dismantled, the job is only half done. Individual panels are more exposed to dents, moisture and edge damage than a fully assembled unit. Wrap wooden and laminated parts in removal blankets, then secure the protection with tape around the wrapping rather than against the furniture itself.
Protect corners carefully, as these are the areas most likely to be knocked when items are carried through a doorway or loaded into a vehicle. Keep long boards upright where practical and avoid placing heavy items on top of them. Flat-pack panels can bow or crack if they are loaded unsupported.
Glass shelves, mirrors and glazed doors need separate attention. Remove them wherever possible, wrap them individually and clearly mark them as fragile. Never rely on a glass door remaining safe simply because it is locked into a cabinet. A sudden movement in transit can place pressure on the frame and cause breakage.
For larger pieces, label each panel in a way that will not mark the finish. A small piece of masking tape on an inconspicuous protected area can identify ‘left side’, ‘top’ or ‘back panel’. This may feel unnecessary during packing, but it makes reassembly more straightforward when similar-looking parts are spread across a new room.
Know when to leave it to removals professionals
There is a difference between taking apart a simple bed frame and dismantling a large sliding-door wardrobe in a confined room. Heavy furniture can cause injury, damage walls and flooring, or be difficult to rebuild safely if its mechanism is disturbed.
Professional help is particularly worthwhile for oversized wardrobes, wall-mounted units, complex office furniture, adjustable beds and items with glass, stone or electrical components. It is also sensible where access is difficult, such as upper-floor flats, narrow staircases or properties with limited parking. The cost of assistance should be weighed against the risk of damaged furniture, a delayed move or an avoidable injury.
Phoenix Rising Removals and Storage can coordinate dismantling and reassembly as part of a carefully planned move, alongside packing, transport and storage where required. This can be especially helpful when several large items need managing within a fixed completion or key-collection timeframe.
Reassembly at the new property
Before rebuilding anything, make sure the room is ready. Measure the intended space, check where sockets and radiators are located, and place large items in their final position before fitting shelves, doors or drawers. A fully built wardrobe is far harder to move across a carpeted room or through a tight doorway.
Use your photographs and labelled fixings to work in reverse. Begin by loosely fitting the main frame, then check that the unit is square before fully tightening bolts and cam locks. On uneven floors, a wardrobe or bookcase may need adjustment before doors line up correctly. Do not load shelves or drawers until the furniture is stable and any wall-fixing requirements have been addressed.
If a fitting appears to be missing, avoid substituting a random screw of a similar size. The wrong fixing can pierce a panel, prevent a joint from closing properly or create a safety issue. Keep the item aside until the correct part can be sourced.
A careful approach to dismantling furniture protects more than the item itself. It protects your time, your property and the calmer start you want in your new home. When a piece is too heavy, too complex or too valuable to risk, asking for experienced support is a practical decision that can make the whole move easier.